55+ Easy Scratch Art Ideas to Try at Home
There is something oddly satisfying about scratch art ideas. You begin with a dull matte black surface that seems to absorb all the light, and you draw a tool of your choice over it, watching colors bloom underneath. It’s a mix of drawing and alchemy, and like any good art form, scratch art has its unique appeal that has little to do with the medium itself. The biggest strength of scratch art is that the mistakes you make by applying too much pressure are transformed into new lines in the drawing.
Scratch art (sometimes called scratch board art or scratchboard) is a wonderful craft that utilizes a special paper or board. This board consists of a black wax or ink layer covered with a layer of bright colored foil or white, gold, or other colors. This guide will provide you with ideas for scratch art, some more simple and some more complex, suitable for a novice who has never scratched a board and an experienced hand looking to try their skills on a new medium. The guide will also give you some advice on materials, colors, and tools to use for your scratch art creation.
What You Need Before You Start
Before you start looking into the ideas, you need to understand what materials are needed:
- Scratch paper or scratch board. You could say that pre-made sheets are the easiest solution for a beginner to work with. A scratch board is more durable than paper because it’s thicker and therefore holds more intricate designs. If you’re making something simple or a kid’s project, regular paper will do fine.
- A scratching tool. You’ll get a good scratching tool with most scratch art kits, but other things can work, too. Some people use wooden coffee stirrers or bamboo skewers, while others use a bent paper clip or the emptied cartridge of a ballpoint pen. Tools made from different materials have different line widths to help you create more complex artwork.
- A hard surface to work on. If you work on a soft surface, you won’t be able to make fine lines or apply much pressure without damaging the paper.
- A piece of paper to place your palm on. This prevents oils from your skin from getting on the scratch paper.
If you want to make your own scratch paper, here’s how to do it.
Making Your Own Scratch Art Paint
“Scratch art paint” usually refers to a homemade variation created from the material that is applied over store-bought sheets of paint. The method involves coloring a sheet of paper or cardstock with crayon heavily but evenly (the rainbow section, gold, or white are all suitable options) and painting a mixture of black tempera paint and a few drops of dish soap over it. The soap is supposed to make the paint adhere more consistently to the wax used in crayon, as opposed to forming small beads. After drying, the finished surface will mimic the look of a homemade scratch surface.
There are several things to be aware of while making this at home:
- The crayon layer should be thick and consistent, not thin and/or patchy, as the latter can lead to uneven scratches.
- Tempera works best for this, as acrylic tends to cure to a harder surface that is challenging to achieve satisfactory results with.
- Finally, ensure you leave the mixture to dry for at least 24 hours. Painting on a surface that has not been sufficiently dried will lead to smearing rather than visible lines when scratched.
The scratch art technique is one that could benefit from being tried at least once, both for the sheer convenience of large-scale projects and the insight into how the material interacts with objects, smoothing the learning curve for working with commercially available scratch boards.
Easy Scratch Art Ideas for Beginners

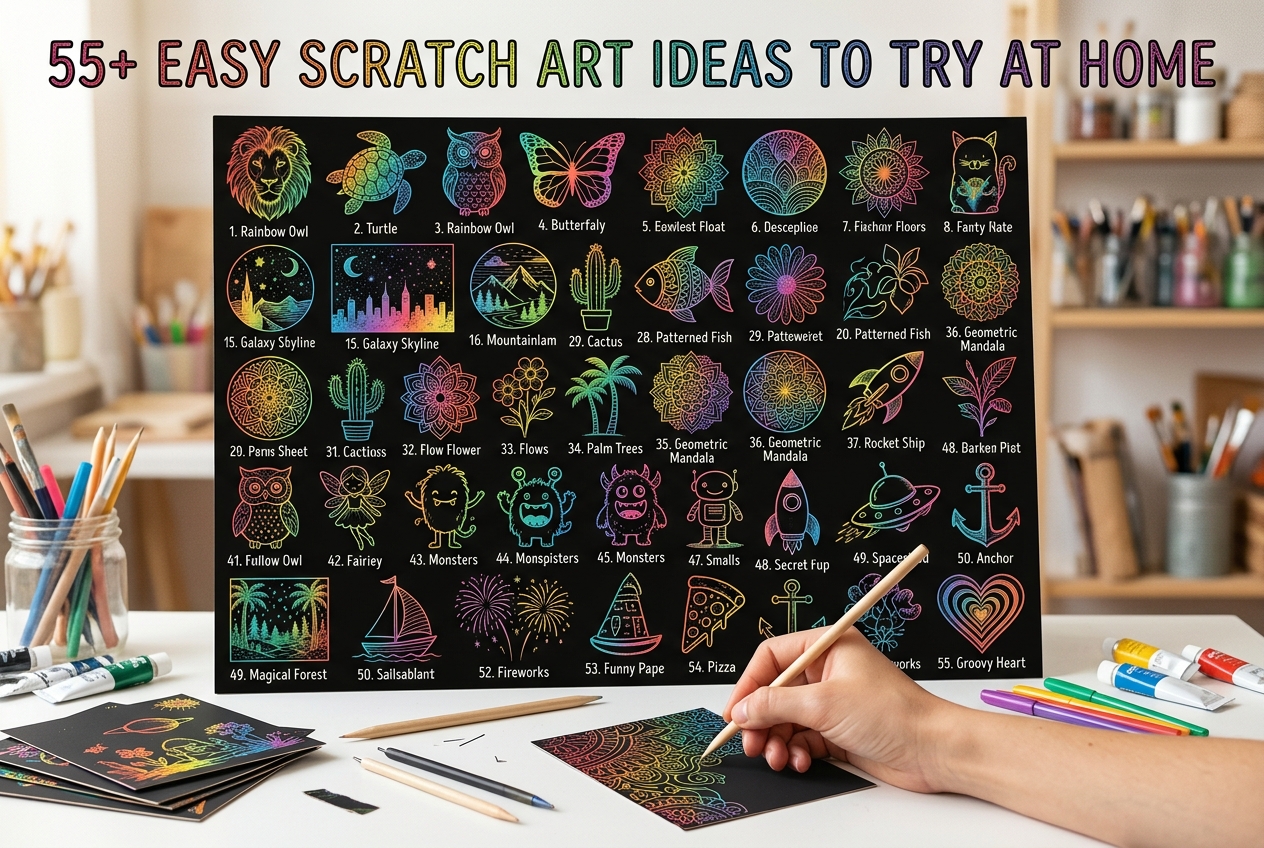
If this is your first time picking up a scratching tool, start with designs that don’t demand fine detail. The goal early on is getting comfortable with pressure control and line consistency, not producing a masterpiece.
- Simple sun with radiating lines
- Basic star shapes scattered across the page.
- A single flower with five or six petals
- Wavy ocean lines
- A smiley face
- Polka dot pattern
- Zigzag borders around the edge.
- A simple heart outline
- Initials or a short name in bubble letters
- A basic house shape with a triangle roof
- Stick-figure people
- A crescent moon with a few stars
- Spiral shapes, one big, a few small
- A simple butterfly with symmetrical wings
- Basic geometric shapes in a grid
- A rainbow arc
- Raindrops falling in rows
- A simple tree trunk with a round leaf canopy
- Concentric circles, like a target
- A basic fish shape with a few fin lines
These work well for kids too, since none of them require precise control, and the “reveal” moment happens fast enough to hold a short attention span.
Cool Scratch Art Ideas With More Detail

Once you’ve got the basic motion down, these designs push you toward finer lines, shading, and a bit more planning before you start scratching.
- A detailed mandala pattern
- Cityscape silhouette with a night sky
- A galaxy or nebula scene using swirling scratch lines
- Feather with individual barb lines
- A close-up eye with iris detail
- Owl with layered feather texture
- A single rose with shaded petals
- Fingerprint-style swirl art
- A dreamcatcher with hanging feathers
- Zodiac constellation with connecting lines
- A wolf howling at the moon
- Peacock with a fanned-out tail
- Cracked-earth or lightning-bolt texture pattern
- A treehouse scene
- Aurora borealis over mountains.
- A jellyfish with trailing tentacles
- Hot air balloon with a patterned basket
- A single large leaf with detailed veins
- Koi fish with scale texture
- A lighthouse with light beams
For these, sketching a rough guide in pencil on paper first (or lightly on the black surface itself, if your tool allows it) helps a lot. Scratch art doesn’t forgive planning mistakes the way pencil does. Once black is removed, it’s removed.
Themed Scratch Art Ideas
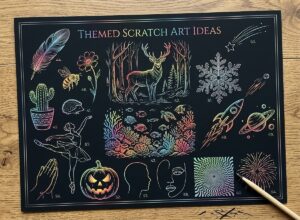
Sometimes it helps to pick a theme and build a small series, especially if you’re making these as gifts or for a specific occasion.
Nature and animals
- Hedgehog silhouette
- Deer standing in a forest clearing
- Underwater coral reef scene
- A single feather falling
- Cactus in a patterned pot
- Bee on a flower
Space
- Astronaut floating with a tethered line
- Rocket ship launching
- Planet with rings and orbiting moons
- Shooting star trail
Seasonal and holiday
- Snowflake with symmetrical detail
- Jack-o’-lantern face
- Christmas tree with ornaments
- Firework burst
Portraits and people
- Simple profile silhouette
- Hands in a praying or holding position
- A dancer mid-movement
Abstract
- Line-art continuous face (one unbroken line)
- Op-art style optical illusion pattern
- Random texture experiment, just for practice
You don’t need to work through this list in order. Pick whatever matches your patience level that day. Some of these take ten minutes, others take an evening.
Scratch Board Ideas for More Advanced Work
Scratch board (as opposed to scratch paper) is thicker, usually clay-coated, and holds up to more aggressive scratching and finer detail work. If you’ve outgrown basic scratch paper kits, scratch board is worth the investment. Artists who do wildlife illustration or fine detail portraiture often use it specifically because it can hold hairline texture, like individual strands of fur or fine hatching for shading, without tearing.
A few scratchboard-specific ideas:
- Detailed animal portraits (fur texture is where scratchboard really shines)
- Architectural drawings with fine linework
- Botanical illustrations with cross-hatched shading
- Black-and-white style portraits using only line density to create tone
If you’re moving from paper to board for the first time, expect the tool pressure to feel different. Board resists more, which is actually helpful for control once you adjust to it, but it can feel stiff at first if you’re used to paper.
Common Mistakes to Avoid
A few common mistakes that beginners make:
- Pressing too hard when you first start scratching can cause indentations in the black layer, making it difficult to get nice clean edges. Instead of trying to use really heavy pressure to make sure that you get the black layer off, you should use light pressure and scratch a few times.
- Not sketching out a design on a regular piece of paper first can cause you to scratch a design that is too big or not the design that you wanted.
- Using a bad tool for the details. If you are using a thick wooden stylus, then it will be hard for you to get any fine details, so you should try to use something like an unfolded paperclip for fine details.
- Don’t worry about smudges. When your hand is pressing against the black layer in the same spot for too long, oils from your skin can leave a dull spot on the scratched area. You can avoid this by using a piece of scrap paper as a barrier.
- And finally, rushing the making of the scratch paper before you begin working on your design. If you are using a homemade scratch paper with crayon and tempera paint, then rushing will cause you to scratch off the black layer along with the layer underneath, which will ruin your design.
Scratch Art for Kids vs. Adults
Scratch art is often promoted as a hobby for children, and it is useful – you get instant gratification, it rarely requires any special tools or messy materials, and mistakes can be easily fixed. However, it is also a great adult activity – if you enjoy spending time creating precise details, this is the hobby for you. The tasks listed above under the «Cool» and «Scratch board» headings would be considered meditative exercises rather than something a child would typically do.
Therefore, if you have a group of children of different ages, consider letting the older ones attempt the more detailed tasks (the ones mentioned in points 5-7 of the section «Cool» and the entire section «Scratch board»). The younger ones may color some simple patterns while the adults are working on the intricate drawings.
Quick Reference: Which Idea Fits Your Skill Level
| Skill Level | Best Starting Point | Time Needed |
| First time trying scratch art | Simple shapes (stars, hearts, suns) | 5-15 minutes |
| Comfortable with basic control | Themed single-subject designs (animals, space) | 20-40 minutes |
| Experienced, want a challenge | Detailed portraits, fur/feather texture, mandalas | 1+ hours |
| Working on scratch board | Fine linework, cross-hatching, wildlife detail | Several hours to multiple sessions |
Final Thoughts
Scratch art ideas are rewarding in terms of effort rather than skill. A shaky line on your first try will look much better than most people can imagine because of the contrast that the black coating and the bright underneath provide. Begin with something simple from the beginner’s list to get a feel for how the tools and surfaces you’re using react to each other, and get to the more intricate ones when you have the experience.